Expand/collapse navigation
Home
About Story Spinner
Contact
Home
About Story Spinner
Contact
Home
About Story Spinner
Contact
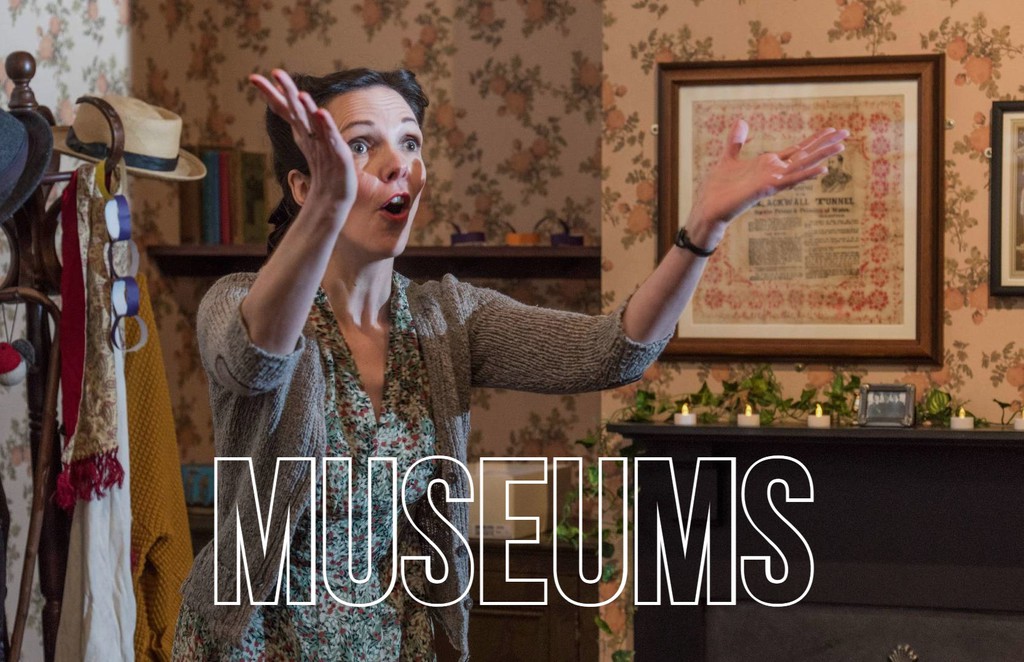
What We Do...
Family Fun
Story Fests
Younger Audiences
Christmas
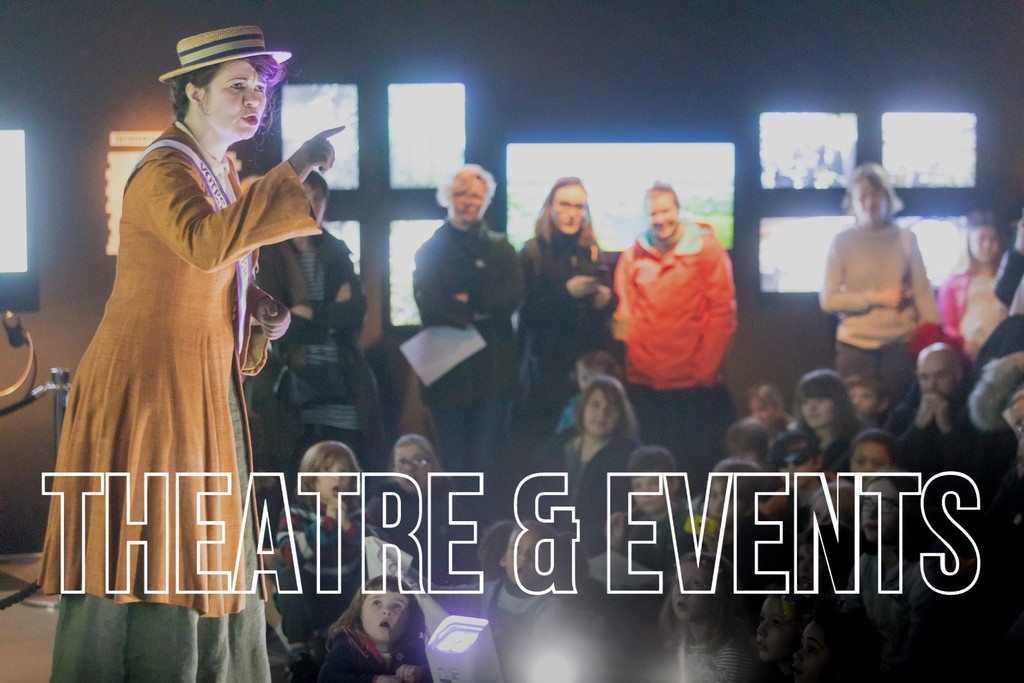
Events
Exhibition Linked
Photo Credits © Museum of London and © Imperial War Museum © Young V@A
↑